Diversifying the prowesses of our AI, we have introduced AI Image Generation for our tribe. Now you can generate royalty-free/copyright-free images using your friendly AI assistant in these simple steps:
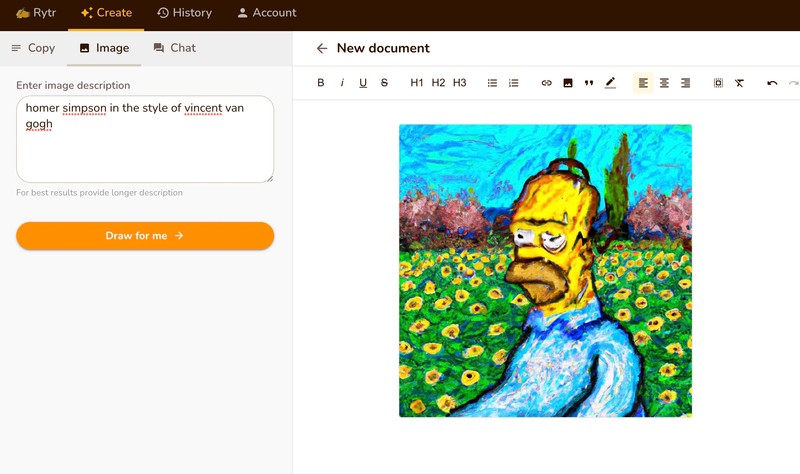
– Click the ‘Create’ tab and select ‘image’. – Enter your input text (remember to be as descriptive as you can) – Click ‘Draw for me’
On this example we’ve used the input text ‘Homer Simpson in the style of Vincent Van Gogh’:
You can also create an image via the editing tool bar:
– Input some context for your picture directly into the document
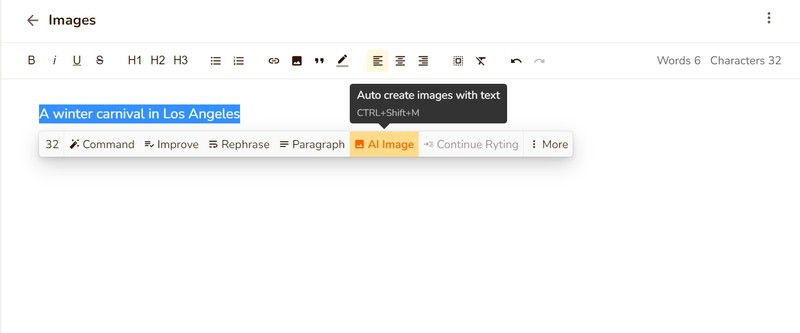 – Click on ‘AI Image’ from the ribbon and that’s all
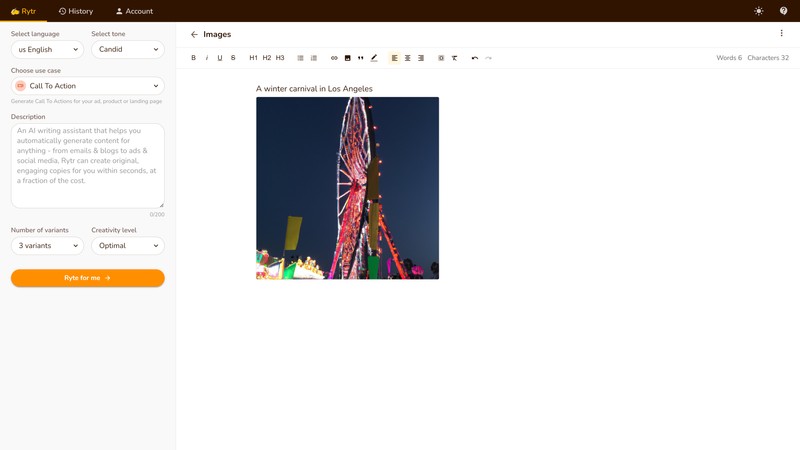
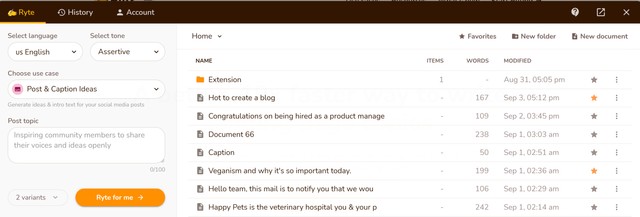
New Document
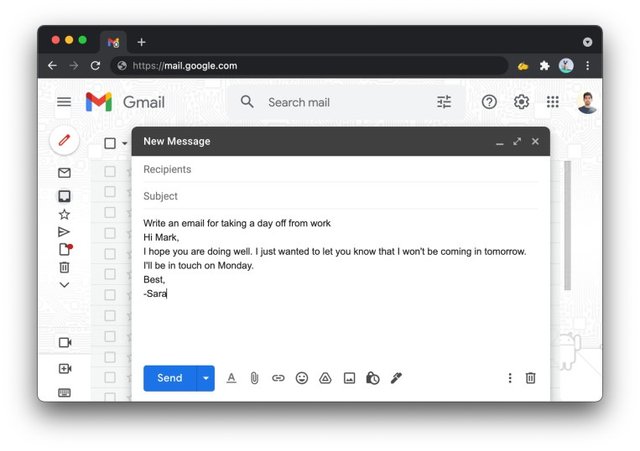
To create a new document, either fill in your details and then choose “Ryte for me” or create a new doc and work there directly.
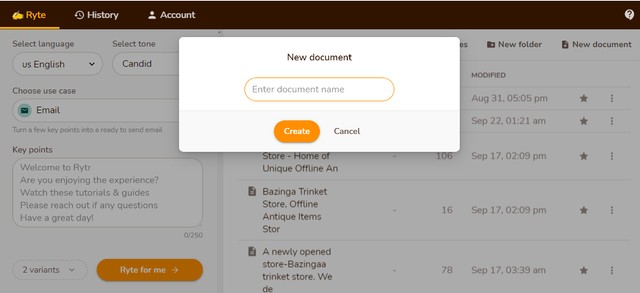
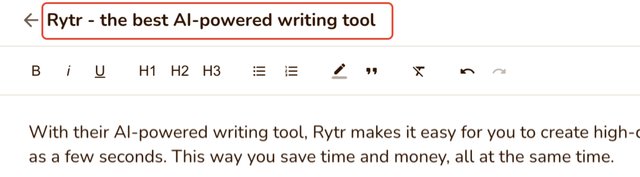
The document title is seen on the top of the document, by default it will be named ‘Document #’.
This can be changed and more personalized based on the content or user.
If you don’t give a title, the first few words from the output will be used as the default title.
You can either delete the entire document or reuse the same document by just clearing all the content in the currently being used document.
This can be done by selecting the document that has to be cleaned up, on the right-hand corner you can see three dots. Once you click on that you will see the options to do the same.

You can also bulk delete documents by going to the list of documents and clicking the three dots in the top right-hand corner.

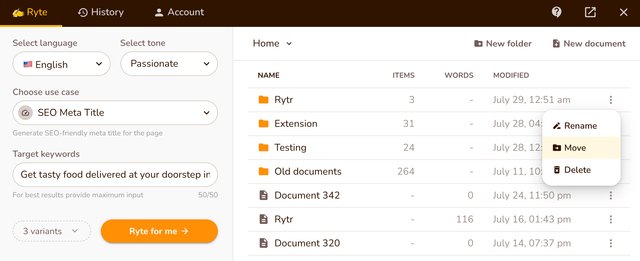
You can move document and folders into another folder.
On the right-hand corner you can see three dots. Once you click on that you will see the option to move:
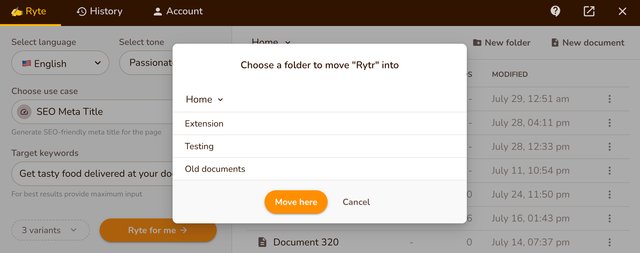
Next step is to choose a folder you would like to move to and click on “Move here” button:
You can mark your important documents as ‘favourite’ for easy access. Just click on the star mark corresponding to the desired document(s) and you’re done.
You can download documents as Word Document or standard HTML.
On the right-hand corner you can see three dots. Once you click on that you will see the option to download:

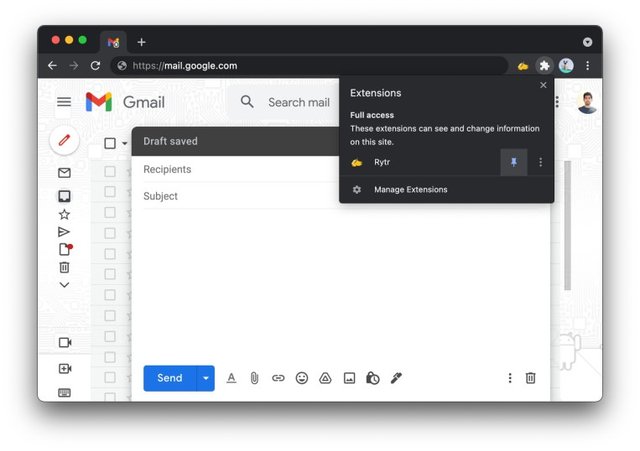
With extension you can use Magic Command and editing operations across all the websites. Follow the steps below to start using Rytr extension:
Step 1: Click on Chrome’s extension icon and pin Rytr for easy access
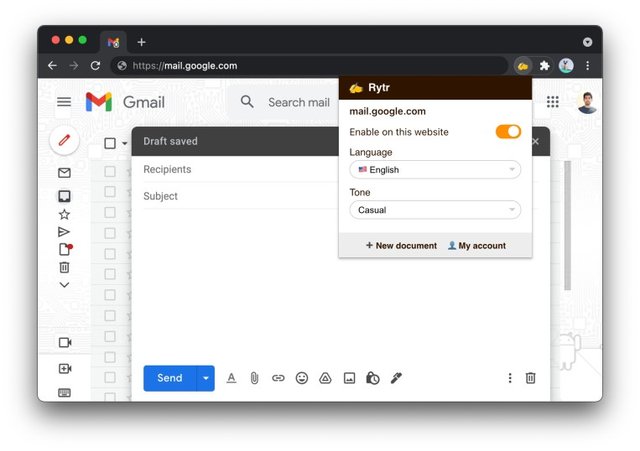
Step 2: Set preferred language and tone. You can also enable or disable extension for particular website
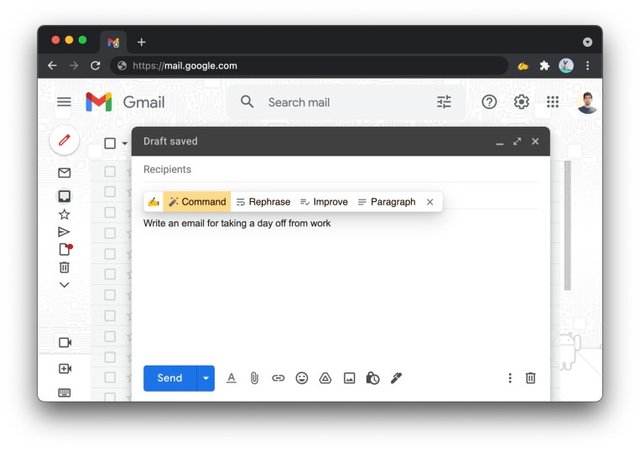
Step 3: Select text (between 30 to 300 characters) to see the Rytr icon, click on it to open the toolbar (ribbon)

Step 4: Tell Rytr to run the operation on selected text
Step 5: Rytr will automatically replace the selected text with generated one! This is an early version and we’ll continue to enhance the extension, so keep it always updated 👍
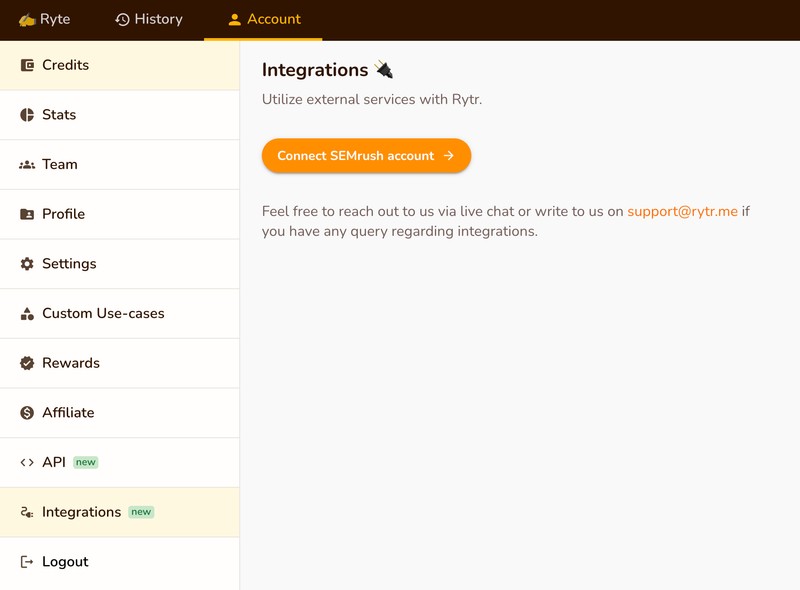
Get enhanced keyword suggestions for Blog use-cases using Semrush integration.
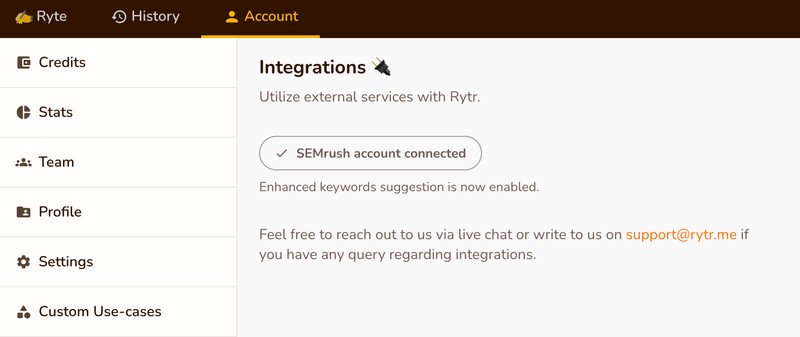
Once connected, you will be able to get enhanced keyword suggestions with Blog use-cases:
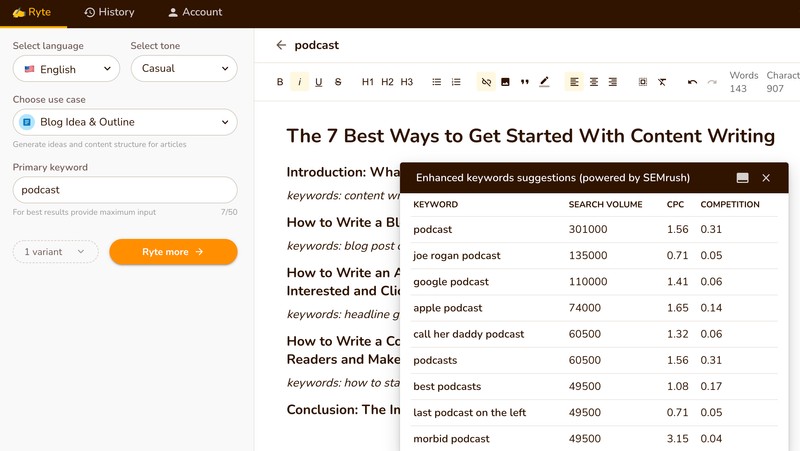
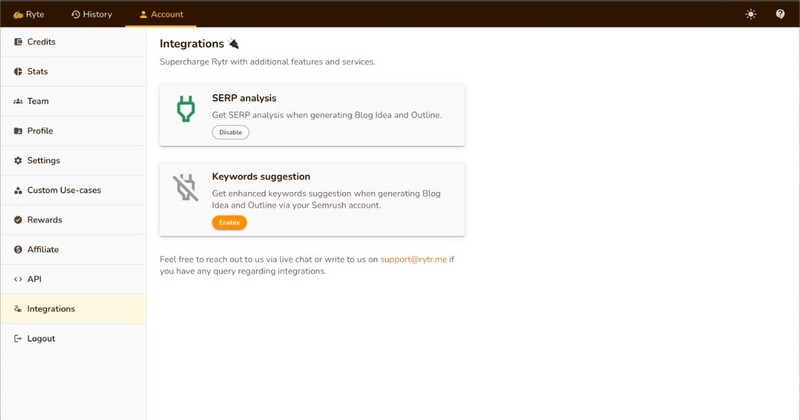
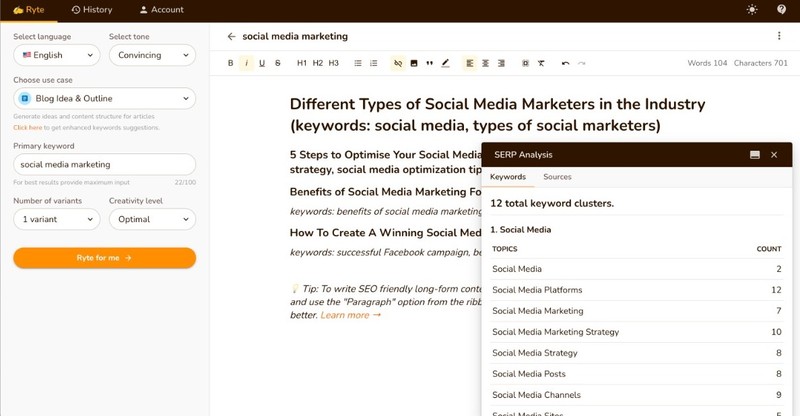
To take your SEO game a notch higher, you can get real-time SERP analysis for your blogs and articles – go from primary keyword to fully SEO-optimized content in no time.
When you generate a blog outline using a keyword, Rytr automatically suggests keyword clusters along with their frequency to help you optimize your content based on existing search engine results.
To integrate, simply head to account > integrations and click on ‘SERP Analysis’. That’s it! This feature would auto-pop up with blog use cases once enabled.